3D Max Balls in the City from digitalurban on Vimeo.
The movie above is surprisingly easy to make, the following tutorial is aimed at creating a series of bouncing balls in a cityscape using Reactor in 3D Studio Max.
We covered the building of the cityscape in our previous tutorials - Greeble a 3D City: Tutorial 1: Greeble Skyscraper and Greeble a 3D City: Tutorial 2: The Cityscape
The tutorial works just as well with a simple plane if you would like to build the city at a later date.
You will need:
1x Copy of 3D Studio Max (a 30 Day trial can be downloaded from here)
Time Required: 5-10 Minutes
Level: Beginner
Step 1:
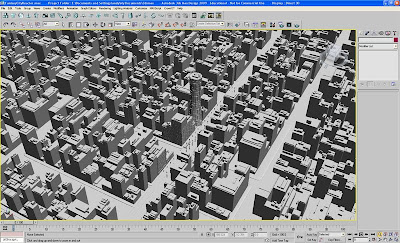
Step one is to start with your cityscape or any scene you wish to add the bouncing balls. We created the balls by simply creating a grid of spheres, in our case 100, using Shift/Move to quickly clone a number of objects.
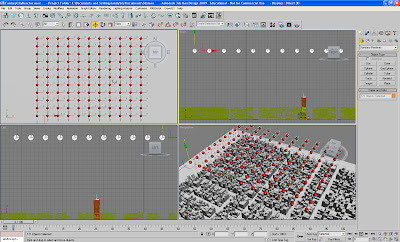 Once created move the balls up to a suitable distance to drop over the city - as pictured above.
Step 2
With out balls in place we now want to add the reactor settings to add basic physical properties to the scene. Select all your object and then click 'Create Rigid Body Collection' as illustrated in the top left, below:
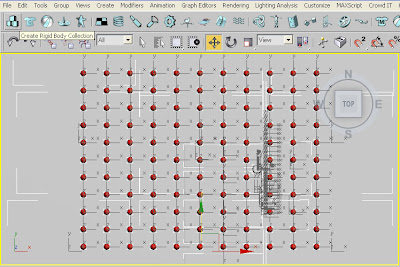
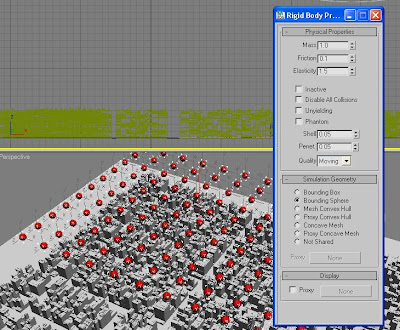
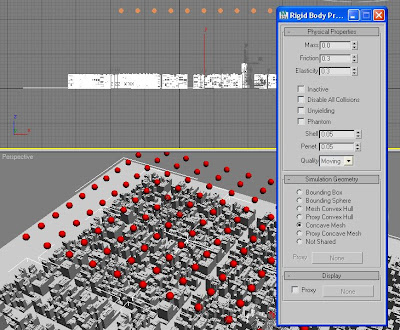
You have now set all the objects up as a rigid body, we now want to change the properties so the balls bounce around the scenery. First of all select all the balls open the 'Property Editor' (notepad shaped icon, fourth from the left in the tool bar), we used the settings of Mass 1.0, Friction 0.1 and Elasticity 1.5, you can play around with these numbers to get any effect you require. Increasing the Mass and Elasticity makes the balls bounce higher with more energy.
 Step 3
With the balls set up we now need to do the same with the scenery, select your cityscape and again open the 'Property Editor', set the 'Simulation Geometry 'to be a 'Concave Mesh'. This will allow the balls to react to the buildings.
 Step 4
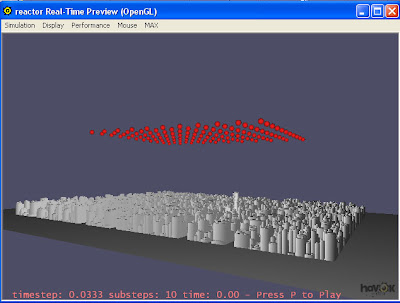
You are ready to go, to preview your scene press 'P', the simulation will run and a preview window will appear, you can now tweak your settings until you are happy.
 Step 5
Once you are happy with the preview click 'Create Animation' to allow max to set the keyframes for each ball, we normally have our timeline set to 1000 frames.
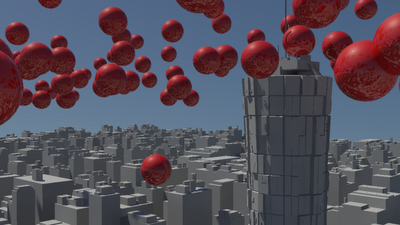
You should now have a movie like the one at the top at the post, quick and simple yet with a few tweaks a useful visualisation technique...

music's cool, how do i get it?
ReplyDeleteI've put a link to the music under the movie :)
ReplyDeletethe music is really beautiful
ReplyDeletethe city have too much vertices , the reactor dont render it , how can i do ?
ReplyDeleteawesome work actually i wish to make it :(
ReplyDeleteand lovely music' I love it guy.
thanks for shared with us
i have a problem with the ball. not falling uneven?
ReplyDelete