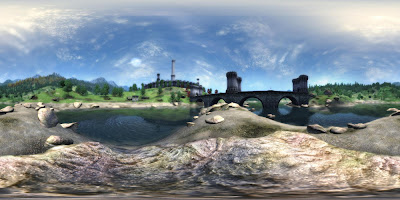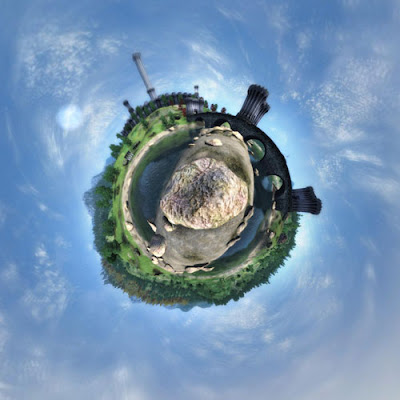
A reader of the blog going by the name of digitdaily has sent us in some great instructions on how to create full 360x180 degree panoramas from Oblivion.
Digit decided to give the process a try while waiting for our part 2 of the Importing SketchUp/3D Max into the Oblivion Engine tutorial. The news is that we have been kind of busy and a move of machines to vista has not helped the process. We are aware that part 2 is the main section of the tutorial and we have cleared next Wednesday morning to put it in place. Till then see Part 1 to create your first world.

To create a panorama from Oblivion all you have to do is:
1) Open the Oblivion.ini file.
2) Change bAllowScreenShot=0 to bAllowScreenShot=1 and save.
3) In game press the ~ button and type in tm and enter then ~ again. This turns off the menu so you can just pan and hit the print screen button.
All the screen captures will appear in the Oblivion folder as .bmp files.
4) Convert the images to .jpgs
5) Drag the images into AutoStitch.
Note - AutoStitch is a free panorama stitcher, you can also use PTGui or Stitcher by RealViz.
Thanks go to digitdaily for the tips, if you create any panoramas or would like any tips on stitching then let us know.
You can purchase a copy of Oblivion direct from our Amazon Store or any good games outlet.

ohhh
ReplyDelete